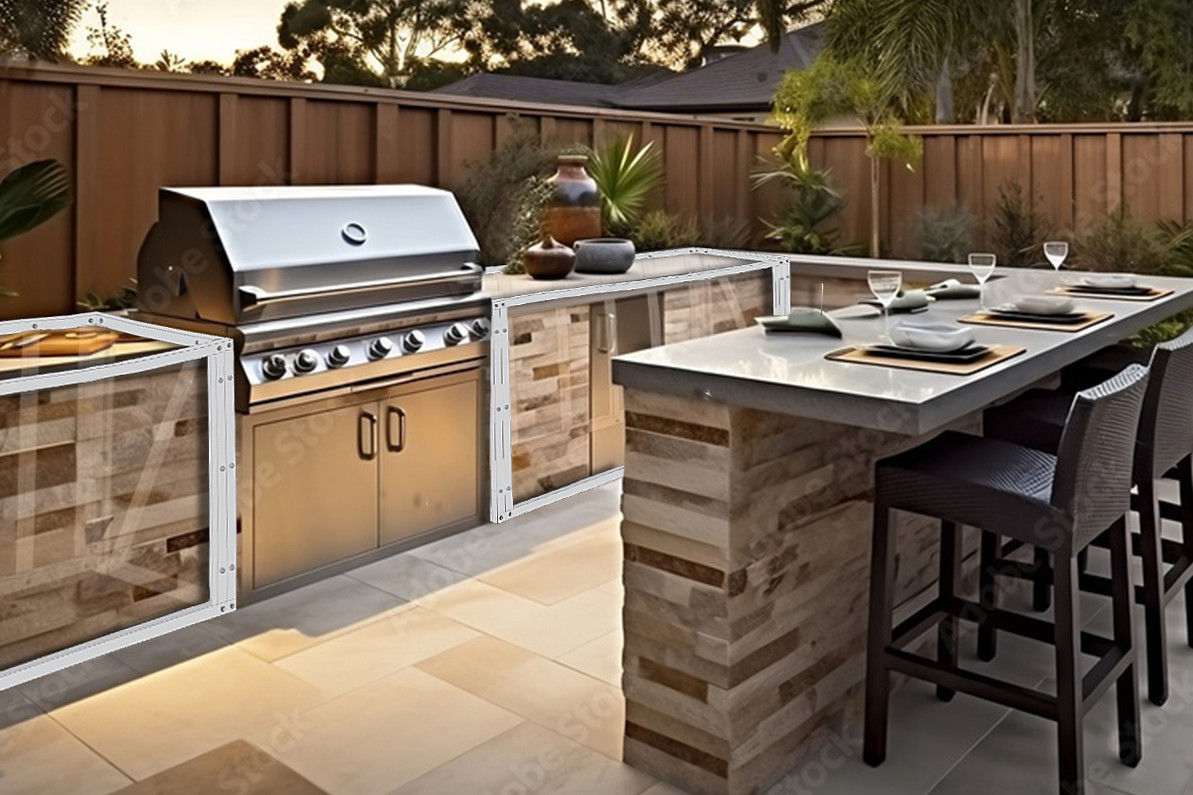
Building Your New Outdoor Barbecue Island
The scenario: your current portable grill is on its last leg. Instead of buying a new one, you come up with the idea of building an outdoor kitchen. You check your finances and decide building it yourself will keep installation and labor costs to an absolute minimum.
Ready and raring to go, you jump on the computer to do research on what building your new barbecue will take. After a couple of hours, you realize the task is a bit more daunting than you first imagined.
You’re not alone. Though building your own outdoor kitchen can feel like a massive endeavor on the surface, once you break it down, you’ll find it’s not as overwhelming as you might expect.
Step 1: Planning Your Island
Before you purchase anything, measure the space where your barbecue island will go to make sure you’re purchasing the right materials. You should also consider what you want to include as part of your island. If your dream outdoor kitchen includes a refrigerator, sink, or other appliances, make sure you have the necessary hookups for plumbing and electrical readily available. Hire a professional plumber and/or electrician if you do not already have these connections in place.
Step 2: Purchasing and Building the Frame and Cutouts
There are many ways to build your frame, from cinder blocks to wood. However, cinder blocks may be sturdy but are heavy and can crack and breakdown over time, and wood is highly susceptible to the elements (not to mention an open flame). We recommend one of DIY BBQ’s highly reliable, easy to build metal frames that will last for years.
When purchasing your framing materials, knowing the types and sizes of your appliances will also help you purchase the necessary cutouts. It becomes much harder and more costly if you decide to add a sink or a door after all your finishing materials have been applied.
Step 3: Adding Your Foundation
After completing the frame with all necessary cutouts, you will setup the foundation that will protect your frame and act as a bonding surface for your finishing materials. The most common material used for a metal frame is cement board (also known as backer board). You may also use sheet metal or wood, but these have much less structural integrity under harsh weather conditions and other natural elements.
Step 4: Adding Your Finishing (or Cladding) Material
It’s now time to apply the finishing material to the main body of your island. There are many options to choose from. Brick offers an affordable, rugged appeal; tile adds a nice, modern feel, but are prone to cracking and, in harsh weather conditions, could peel away over time; stucco is inexpensive and lightweight and can be stained to match the color of your home for better integration with the main abode; and stone is easy to maintain and can match your surroundings with ease.
If you choose a nice stone veneer, you will need to add a scratch coat for proper adhesion. Simply prepare a masonry mortar and apply it to your foundation. Once done, use a notched trowel to rake in straight, evenly dispersed grooves. Let it all cure for twenty-four hours before applying your cladding material.
Step 5: Countertops
Next, we’ll lay your countertops. Again, there are varied materials you can use depending on what fits your needs. Tile is cost-effective but prone to cracking; concrete is better for high fluctuations in temperature but is susceptible to scratching and staining; limestone has a great, natural look, but may split or crack under high temperature fluctuations; quartz may have a classic look and be resistant to stains and scratches, but it will yellow under the sun; and granite provides a sleek, contemporary feel, but gets extremely hot in the sun.
Step 6: Install Appliances
Now that your island is complete, it’s time to install all your appliances and start cooking!
Recent Posts
-
2024 Barbecue Trends Every Grill Master Needs to Know
No matter what time of year it is, it’s never too early (or too late) to talk trends. After all, whe …Feb 22, 2024 -
Cook With Iron—Advantages and Disadvantages of Using Cast Iron on the Grill
Many wouldn’t think of ever using cast iron cookware on a grill. Isn’t capturing an open flame th …Feb 09, 2024 -
How to use smoking chips on a grill.
It's hard to beat the taste that grilling imparts upon meat, yet smoking chips take that flavor …Feb 08, 2024


