9 Steps to Winterize Your Barbecue Island
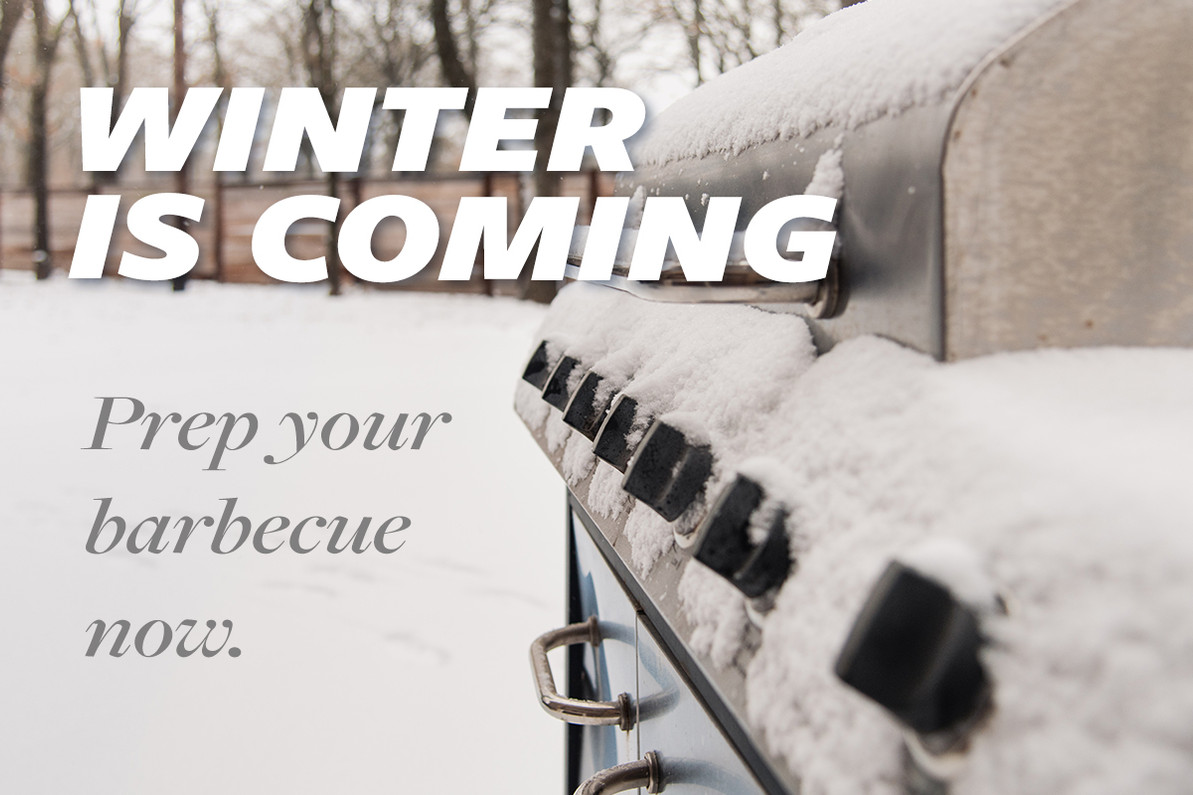
Sorry to say, but summer is over. The leaves are changing color, and, in some areas, snow will begin to fall before you know it. And no matter how much we all want to admit it, barbecue season is ending. What does that mean, exactly? It means it’s time to start prepping your outdoor kitchen for the harsh, cold winter ahead.
How do you do that? Great question. We’ve compiled several general steps to help protect your barbecue island over the winter.
(Please note: these steps apply to those who encounter frigid temperatures during fall and winter. If you live in Florida, Southern California, Arizona, or other southern states — enjoy your winter grilling!)
1. Thoroughly Clean Your Barbecue
Residual grease and food trap moisture, which promotes oxidation and rust. They also attract mice, spiders, and other insects looking to stave off the cold. So, make sure to remove these elements from the grates and burners, the inside of the lid, and your grease trap. Once this is done, clean the outside of dirt, grime, and dust collected over the summer.
2. Coat Your Grates with Cooking Oil
Use coconut oil, palm oil, or grapeseed oil to coat your cooking grates, much like you would when seasoning the grill. This will help the grates repel moisture and keep from rusting. Make sure to turn your burners on high after coating to burn off any excess oil.
3. Wrap or Remove the Cooking Unit
Because you won’t be using the grill, you want to make sure spiders and other insects do not nest inside the venturi and burner ports. To do this, you will want to remove the burners (as indicated by the owner’s manual) and wrap them in plastic. You can leave them on the grates before closing the lid. It might be good to also wrap the orifice that feeds the burners.
4. Remove the Propane Tank and Ignitor Battery
For your protection, it’s always best to remove your propane tank, especially in harsher weather. Wrap the gas line in plastic and store the tank in a safe, well-ventilated area away from dryer or furnace vents.
If you expect to brave the cold and barbecue a few times over the winter, it’s fine to leave your propane tank housed within the island. Just make sure the tank is off, disconnect the gas line, and wrap the connectors in plastic when not use.
If you have electric ignition systems, you will also want to remove any batteries so as not to lead to corrosion.
5. Cover Your Grill
Prolonged exposure to the elements can decrease the life of your grill. So, unless you want to buy a new one in the Spring, make sure to cover your investment with a textured vinyl grill cover.
6. Clean or Seal Your Countertops.
Your countertops will take the brunt of the weather, so keep them protected. Polish your stainless steel, oil and/or seal your wood, and seal your stone.
The following steps are for those with specialized appliances installed in your island.
7. Clean Drawers and Cabinets
If your barbecue island has any drawers, cabinets, or doors, thoroughly clean them to remove possible food, spices, and grease. Not only will these elements attract insects, mice, and spiders, but any residual food stuffs may decay or rot, rusting and/or corroding the metal.
8. Clean Your Refrigeration Units
If you have a refrigerator, kegerator, or ice maker, you’ll first want to unplug the unit and wrap the prongs in plastic. Then, throw out (or move to inside units) any food, liquid, and ice. Finally, wash the inside and outside with mild soap and water, then dry thoroughly to avoid mold.
For added protection, leave an open box of baking soda inside the unit. This will soak up moisture and any smells that may occur. You may also consider turning off the breaker that feeds electricity to your outdoor kitchen.
9. Clear the Water Lines
If you have any sinks or other water fixtures on your island, you will want to avoid any water from freezing and expanding in your pipes. First, turn off the water lines to your outdoor kitchen and then release the residual water by turning on any faucets until the water stops flowing.
This all may seem like a long and arduous process, but would you rather take a few hours now to protect your investment, or spend thousands buying new equipment come the Spring? We’re betting the former is worth the effort so you can fire up the grill with no issues for that first hearty steak of the season.
Recent Posts
-
2024 Barbecue Trends Every Grill Master Needs to Know
No matter what time of year it is, it’s never too early (or too late) to talk trends. After all, whe …Feb 22, 2024 -
Cook With Iron—Advantages and Disadvantages of Using Cast Iron on the Grill
Many wouldn’t think of ever using cast iron cookware on a grill. Isn’t capturing an open flame th …Feb 09, 2024 -
How to use smoking chips on a grill.
It's hard to beat the taste that grilling imparts upon meat, yet smoking chips take that flavor …Feb 08, 2024


